
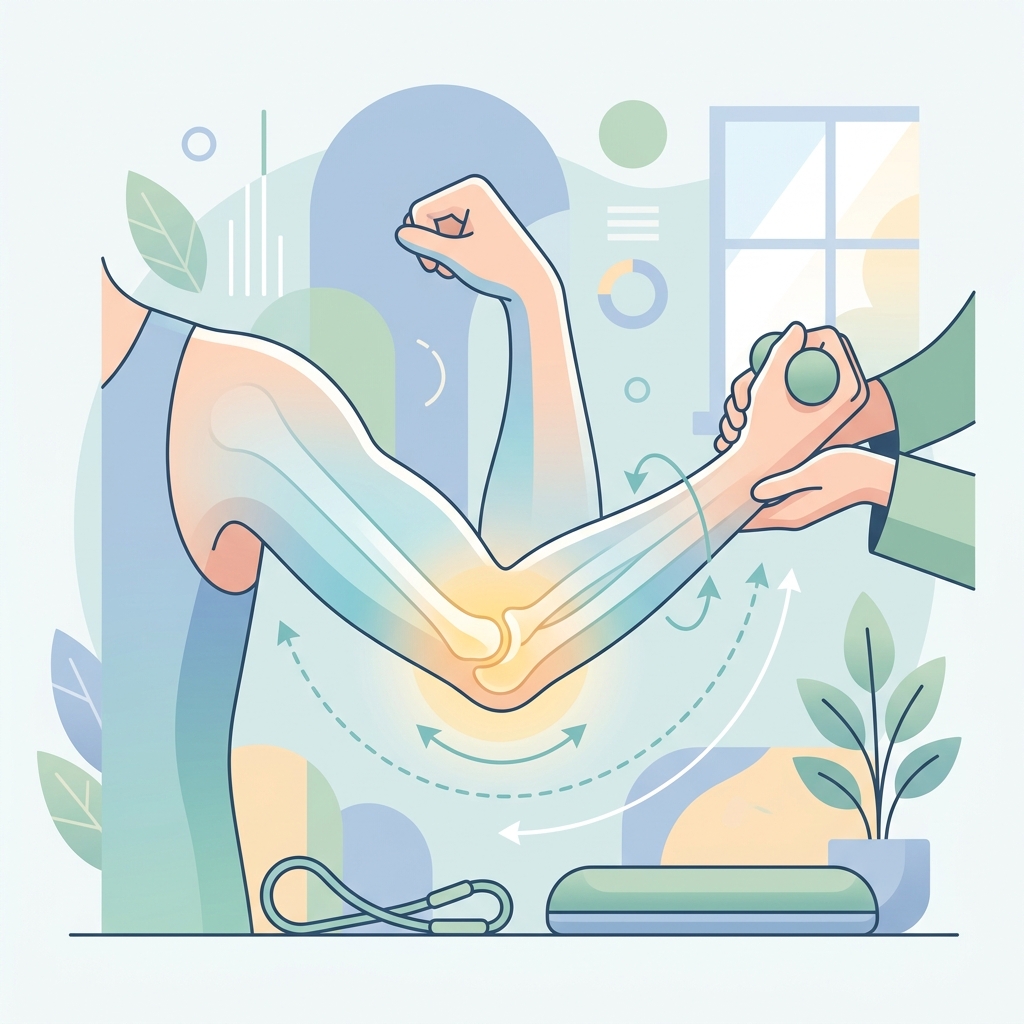
Non-Displaced Radial Head Fracture Early Recovery Exercises
A step-by-step home exercise guide for early recovery from a non-displaced radial head fracture, designed to restore elbow movement safely.
Recovering from a non-displaced radial head fracture requires a careful balance of rest and gentle movement. Because the bone fragments have not shifted out of place, surgery is usually not needed. Instead, early movement is the key to preventing long-term stiffness and helping your elbow heal. The goals of this early recovery guide are to restore your elbow's natural range of motion, maintain joint health, and prepare your arm for daily activities. Always perform these exercises within your comfort limits and as guided by your medical team.
General Guidelines & Safety Precautions
Before beginning your exercises, please review these safety guidelines to protect your healing joint:
- Warm-up first: Apply a warm compress to your elbow for 5-10 minutes before starting to help relax the muscles, or perform these exercises after a warm shower.
- The Pain Rule: Exercises may feel tight or slightly uncomfortable, but they should never cause sharp or shooting pain. If you feel sharp pain, stop immediately.
- Do not force it: Do not use your other hand to push or force your elbow into a deeper bend or stretch. All movements should be active, using only the muscles of the injured arm.
- Avoid lifting: Do not lift any objects heavier than a cup of water with your injured arm until cleared by your doctor.
Early Recovery Exercises
Exercise 1: Active Elbow Flexion and Extension
Purpose: Restores the bending and straightening movement of your elbow to prevent stiffness.
Equipment Needed: None.
Starting Position: Sit upright in a comfortable chair. You can rest your upper arm on a table or keep it close to your side.
Instructions:
- Slowly bend your elbow, bringing your hand up toward your shoulder as far as comfort allows.
- Hold this bent position for 2 to 3 seconds.
- Slowly straighten your elbow completely, letting your arm rest straight down.
- Hold the straight position for 2 to 3 seconds.
- Move smoothly and do not jerk or force the joint.
Dosage: Perform 10 repetitions, 2 to 3 sets, 3 times daily.
Tips: Keep your movements slow and controlled. Do not use momentum to swing your arm.
Exercise 2: Active Forearm Pronation and Supination
Purpose: Restores the rotation of your forearm (turning your palm up and down), which is essential for tasks like turning doorknobs or holding keys.
Equipment Needed: None.
Starting Position: Sit or stand with your elbow bent to 90 degrees and tucked close to your side.
Instructions:
- Slowly rotate your forearm so that your palm faces up toward the ceiling.
- Hold for 2 to 3 seconds, feeling a gentle stretch.
- Slowly rotate your forearm back so that your palm faces down toward the floor.
- Hold for 2 to 3 seconds.
- Keep the movement smooth and work within a comfortable range.
Dosage: Perform 10 repetitions in each direction, 2 to 3 sets, 3 times daily.
Tips: Keep your elbow tucked against your side. Do not let your shoulder turn or do the work for your forearm.
Exercise 3: Active Wrist Range of Motion
Purpose: Maintains wrist flexibility and keeps muscles active without stressing your elbow.
Equipment Needed: None.
Starting Position: Sit with your forearm supported flat on a table, with your hand hanging off the edge.
Instructions:
- Gently bend your wrist downward so your fingers point toward the floor.
- Hold for 2 to 3 seconds.
- Slowly bend your wrist upward so your fingers point toward the ceiling.
- Hold for 2 to 3 seconds.
- Repeat the movement gently.
Dosage: Perform 10 repetitions, 2 to 3 sets, 3 times daily.
Tips: Ensure your forearm remains flat on the table throughout the exercise. Only your wrist should move.
Exercise 4: Gentle Grip Strengthening
Purpose: Restores grip strength and improves blood circulation in your hand and forearm, which helps support elbow healing.
Equipment Needed: A soft therapy ball, sponge, or rolled-up towel.
Starting Position: Sit comfortably holding the soft object in your hand.
Instructions:
- Gently squeeze the ball or towel, using about half of your maximum effort.
- Hold the squeeze for 3 to 5 seconds.
- Slowly release your grip and relax your hand completely.
- Ensure you do not feel any sharp pain or pull in your elbow.
Dosage: Perform 10 to 15 repetitions, 2 sets, 2 times daily.
Tips: Do not squeeze too hard, especially in the first few weeks. The exercise should feel comfortable and tension-free at the elbow.
Always consult with your physical therapist or doctor before starting a new exercise routine. If any exercise causes persistent pain or swelling, discontinue it and contact your healthcare provider.
Disclaimer: This guide provides general exercise instructions and is not a substitute for professional medical advice. Always consult your doctor or qualified healthcare provider with any questions you may have regarding your specific medical condition and treatment plan.

Related articles
Browse all articlesTrusted External Resources
Curated educational materials to help you make informed decisions about your orthopaedic bone & joint conditions.

Orthopaedia

Orthogate Patient Education