
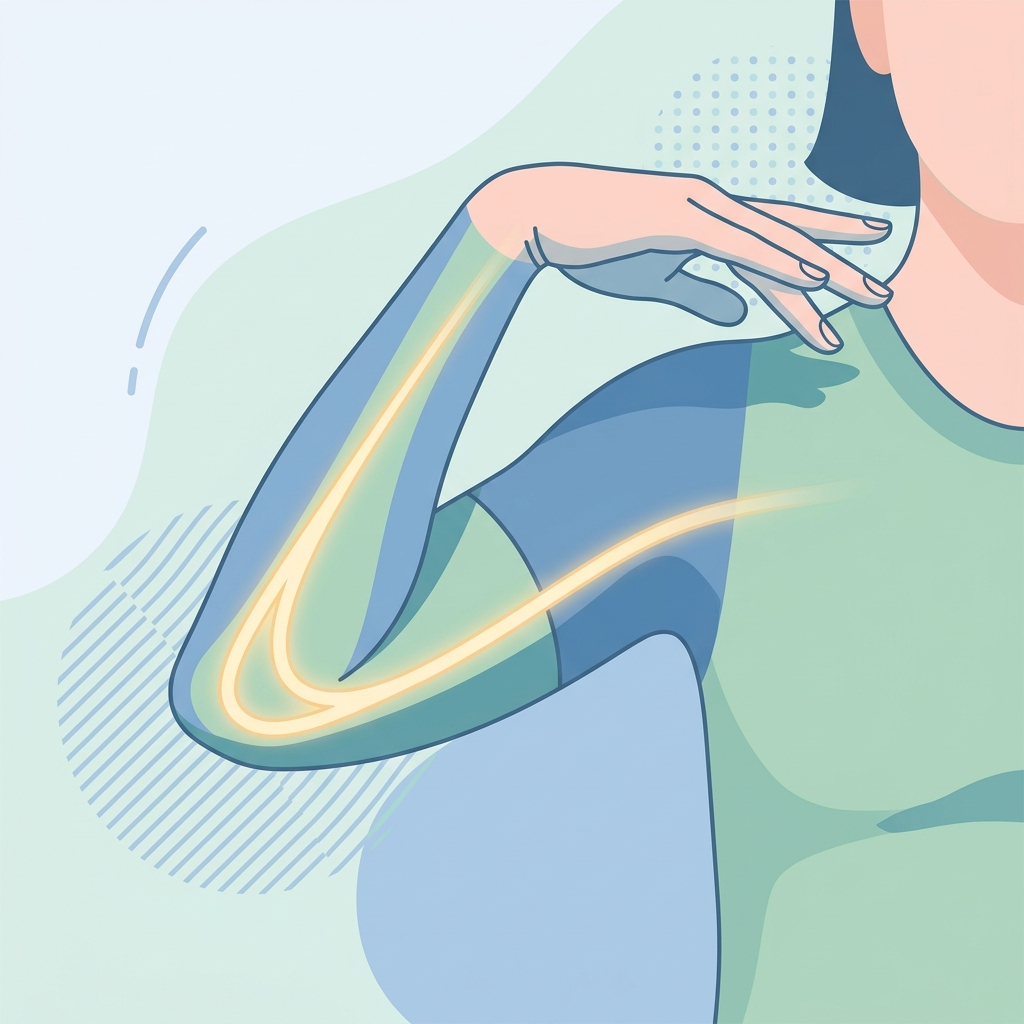
Cubital Tunnel Syndrome (Ulnar Nerve) Gliding Exercises
Step-by-step home exercise guide for Cubital Tunnel Syndrome (Ulnar Nerve) Gliding Exercises to improve ulnar nerve mobility, reduce numbness, and support recovery.
Nerve gliding exercises, also known as nerve flossing, are gentle movements designed to help the ulnar nerve slide smoothly through the cubital tunnel at your elbow. When the ulnar nerve is irritated or compressed (a condition called Cubital Tunnel Syndrome), it can get caught or pinched, leading to pain, numbness, or tingling in your ring and pinky fingers. By performing these gentle exercises, you can restore mobility to the nerve, improve blood flow, and accelerate your recovery.
General Guidelines & Safety Precautions
Nerves are highly sensitive structures. Unlike muscle stretches, nerve glides should never feel intense or painful. Follow these rules for a safe rehabilitation process:
- The Pain Rule: Stop immediately if you feel a sharp pain, increased numbness, or tingling. A mild, gentle pulling sensation is normal, but anything more indicates the nerve is being irritated.
- Keep It Smooth: Move slowly and fluidly. Avoid bouncing or holding the stretch at the end of the movement. Think of it as a smooth, continuous glide.
- Start Slowly: Perform these exercises 1 to 2 times per day. Start with 5 repetitions and gradually build up to 10 repetitions as tolerated.
- Warm Up First: It is best to do these exercises after a warm shower or a light activity to ensure your muscles and joints are warm.
Exercise 1: Elbow Flexion and Wrist Extension (Basic Glide)
Purpose: To gently glide the ulnar nerve through the elbow joint and wrist using a basic bending and straightening motion.
Equipment Needed: None
Starting Position: Sit or stand upright with good posture. Keep your arm relaxed at your side.
Instructions:
- Extend your arm straight out to the side at shoulder height, with your palm facing the floor.
- Slowly bend your elbow, bringing your hand toward the side of your head.
- As you bend your elbow, gently bend your wrist back so your fingers point toward the ceiling or behind you.
- Slowly straighten your arm back to the starting position, relaxing your wrist.
- Repeat this fluid movement in a controlled manner.
Dosage: 1 set of 5 to 10 repetitions, 1 to 2 times daily.
Tips & Common Mistakes: Do not force your hand all the way to your face if it feels tight. Keep the movement comfortable and within a pain-free range.
Exercise 2: The "Waiter's Tray" Glide
Purpose: To create a different angle of movement for the ulnar nerve by simulating holding and presenting a waiter's tray.
Equipment Needed: None
Starting Position: Sit or stand upright. Bend your elbow to 90 degrees in front of you, with your palm facing the ceiling (as if holding a tray).
Instructions:
- Start with your hand in front of you, elbow bent at 90 degrees, palm facing up.
- Slowly move your elbow out to the side while keeping your palm facing the ceiling and bending your wrist back slightly.
- Hold for 1 to 2 seconds at the point of mild tension, then slowly return your hand in front of you.
- Keep your shoulder relaxed and down; do not let it shrug up toward your ear.
Dosage: 1 set of 5 to 10 repetitions, 1 to 2 times daily.
Tips & Common Mistakes: Ensure your palm remains flat and facing up throughout the movement. Shrugging the shoulder is a common mistake that reduces the effectiveness of the glide.
Exercise 3: Head Tilt (Nerve Flossing)
Purpose: To floss the nerve from both ends by coordinating your neck and arm movements, minimizing tension while maximizing glide.
Equipment Needed: None
Starting Position: Stand or sit upright. Extend your arm out to the side at shoulder height, palm facing up.
Instructions:
- Extend your arm out to the side, palm up.
- As you bend your elbow and bring your hand toward your head, tilt your head toward the opposite shoulder (away from the moving arm). This pulls the nerve gently from the neck end while releasing tension at the hand end.
- As you straighten your arm back out, tilt your head back to the upright position or slightly toward the active arm.
- Perform this sequence slowly, timing the neck tilt to match the elbow movement.
Dosage: 1 set of 5 to 10 repetitions, 1 to 2 times daily.
Tips & Common Mistakes: Move your head and arm in sync. Never force your neck into an extreme tilt. Keep all movements gentle.
Exercise 4: The "OK Sign" (Glasses) Glide
Purpose: This is a slightly more advanced glide that targets the nerve endings near the wrist and hand while maintaining mobility at the elbow.
Equipment Needed: None
Starting Position: Sit or stand upright. Hold your arm out to the side at shoulder height, palm facing up.
Instructions:
- Bring the tip of your thumb and the tip of your index finger together to form an "OK" circle. Leave your other three fingers extended.
- Slowly bend your elbow and rotate your wrist to bring your hand toward your face.
- Place the "OK" circle over your eye (like half of a pair of glasses), with your other three fingers resting gently on your cheek or jaw.
- Slowly reverse the movement, extending your arm back to the starting position.
Dosage: 1 set of 5 to 10 repetitions, 1 to 2 times daily.
Tips & Common Mistakes: If you cannot reach your eye without pain or tingling, stop before that point. The movement should feel like a fluid progression, not a forced stretch.
Always consult with your physical therapist or doctor before starting a new exercise routine. If any exercise causes persistent pain or swelling, discontinue it and contact your healthcare provider.
Disclaimer: This guide provides general exercise instructions and is not a substitute for professional medical advice. Always consult your doctor or qualified healthcare provider with any questions you may have regarding your specific medical condition and treatment plan.

Related articles
Browse all articlesTrusted External Resources
Curated educational materials to help you make informed decisions about your orthopaedic bone & joint conditions.

Orthopaedia

Orthogate Patient Education